Use System Restore on Windows 10
System Restore can revert your computer to an earlier state if any critical error renders the system unusable. If you enable this feature, it ensures that the system automatically creates restore points when it detects major changes, such as Windows updates, driver installations, app installations, or significant modifications in core system settings. In this guide, we will learn how to enable System Restore and create system restore points on your Windows 10 computer.
How to Enable System Restore
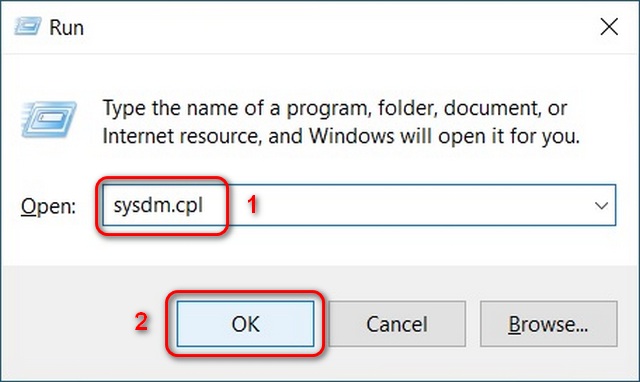
To enable System Restore on your Windows 10 computer, first press the Windows Key + R simultaneously to open the Run box. Then type “sysdm.cpl” and click ‘OK’ to open the System Properties window.
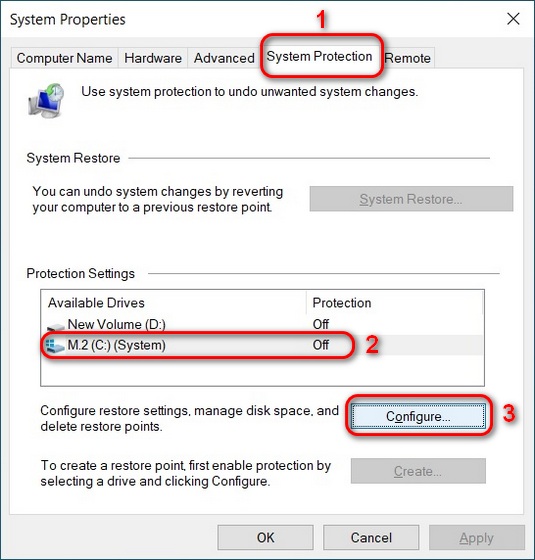
On the System Properties window, go to the System Protection tab. Then choose your System drive (typically C:) and click on Configure.
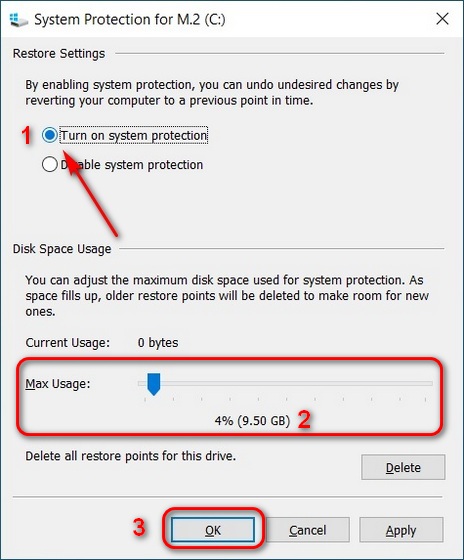
You can now turn on system restore for your Windows 10 system drive. You can also manage the amount of space your recovery image uses. Then, click ‘Apply’ or ‘OK’, and you’re done.
Create System Restore Point on Windows 10
We will detail three different methods of creating a System Restore point manually on Windows 10. Method 1 uses the built-in GUI option and is the easiest, while the other two methods use the command line interface.
Method1: Via System Properties
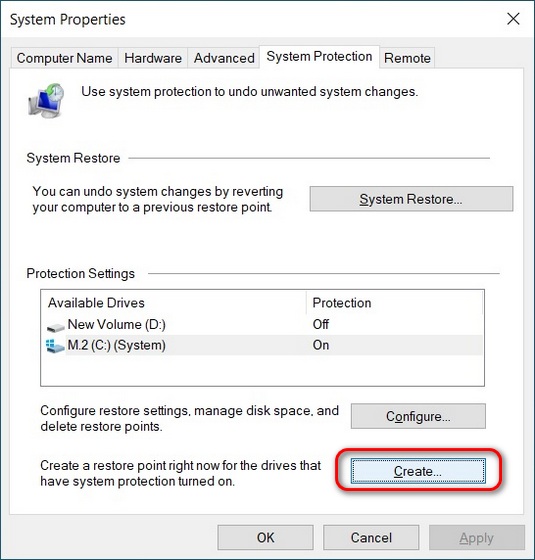
To create a System Restore point manually, open the System Properties window once again. Now click the ‘Create’ button at the bottom, next to “Create a restore point right now for the drives that have system protection turned on.”
On the popup box, set a name for your restore point and click on ‘Create’.
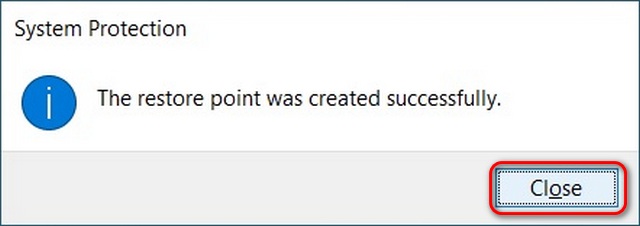
Wait for a few seconds as your computer takes a snapshot of the system image and creates a restore point. Windows will notify you once the system restore is created. Click ‘Close‘ and exit the System Properties window. That’s it.
Method 2: Using the Command Prompt
Open Windows Command Prompt in Admin mode by searching for ‘cmd’ in the Windows Search Bar and clicking on the ‘Run as administrator’ option.
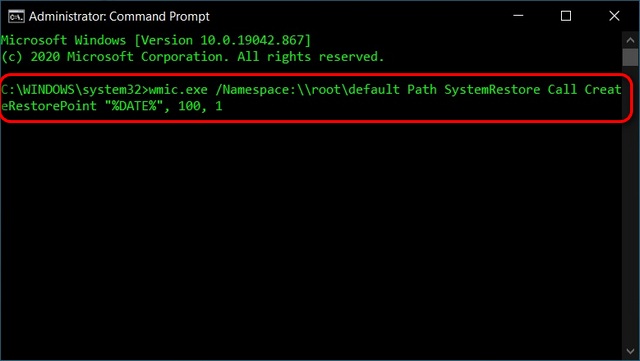
Now type in wmic.exe /Namespace:\root\default Path SystemRestore Call CreateRestorePoint “%DATE%”, 100, 1. This will create a restore point bearing the creation date for easy identification.
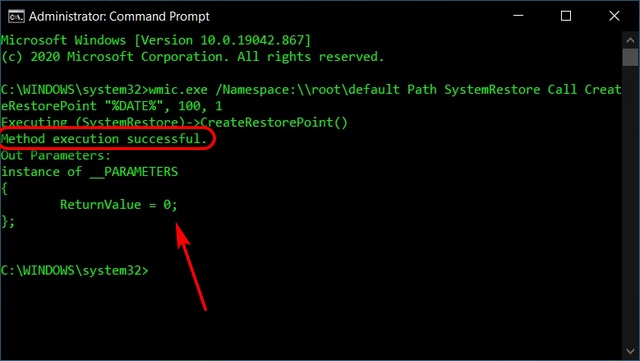
If you get the message “Method execution successful” and “ReturnValue = 0”, it means you have successfully created a system restore point on Windows 10.
Method 3: Using the Windows PowerShell
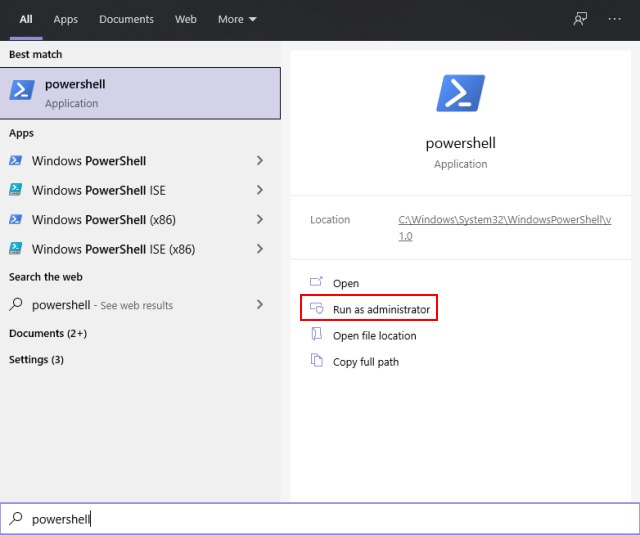
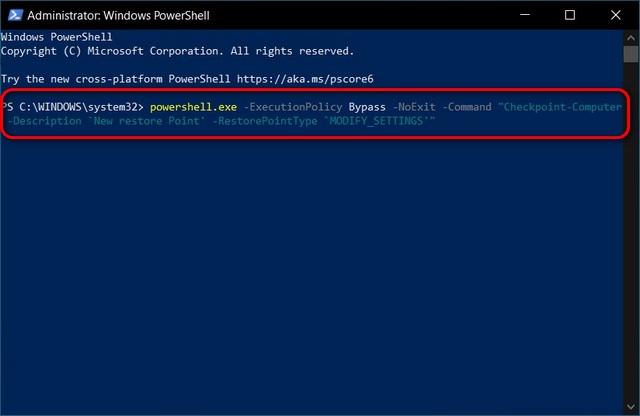
You can also use PowerShell to create a restore point on Windows 10. To do that, search for ‘Powershell’ and click on ‘Run as administrator’ to launch the app.
Then run this command: powershell.exe -ExecutionPolicy Bypass -NoExit -Command “Checkpoint-Computer -Description ‘New restore Point’ -RestorePointType ‘MODIFY_SETTINGS’.
Note: ‘New Restore Point’ is the name of your new restore point. You can swap it out with any name of your choosing.
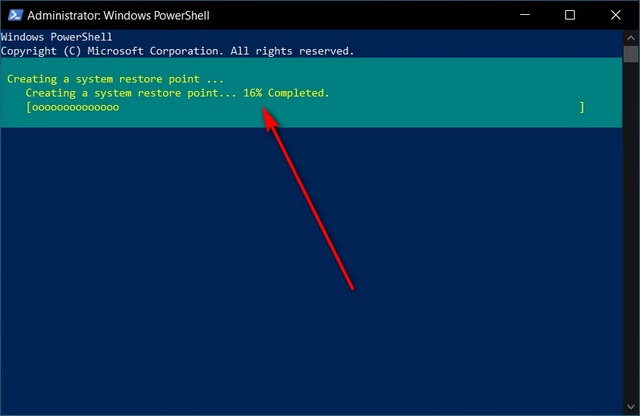
PowerShell shows you a progress bar for the System restore point creation process, which only takes a few seconds. Once the job is done, close the PowerShell window as you’ve successfully created a system restore point on Windows 10.
Use System Restore to Revert Your Windows 10 PC to an Earlier State
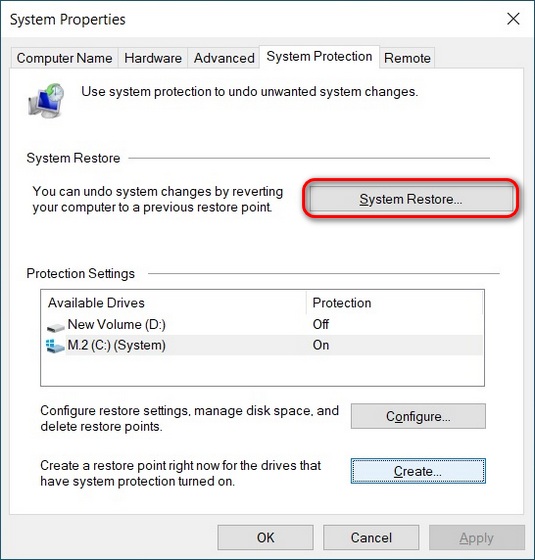
To revert your computer to an earlier state, open System Properties -> System Protection as explained in step 1 of this tutorial. Then, click on System Restore.
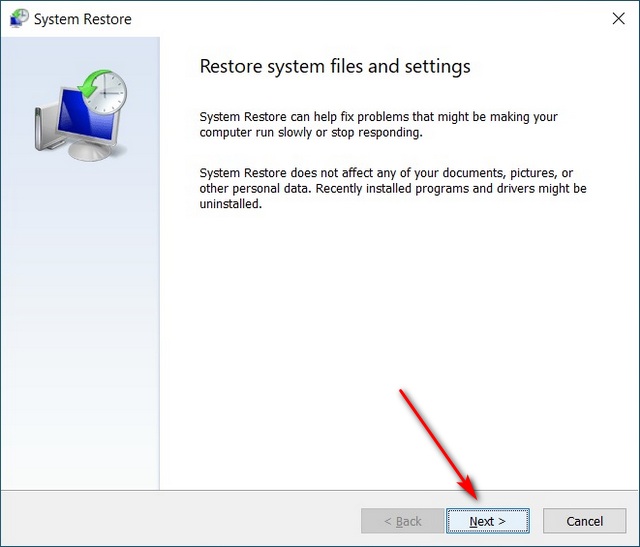
On the System Restore window, click on Next.
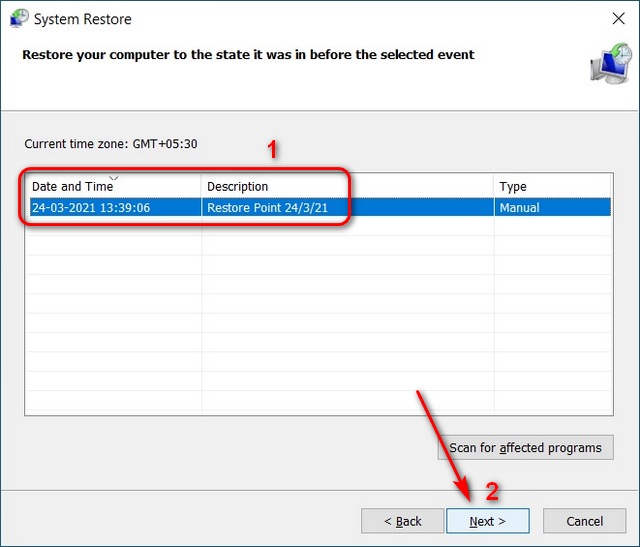
Then, select a restore point of your choice and click on Next.
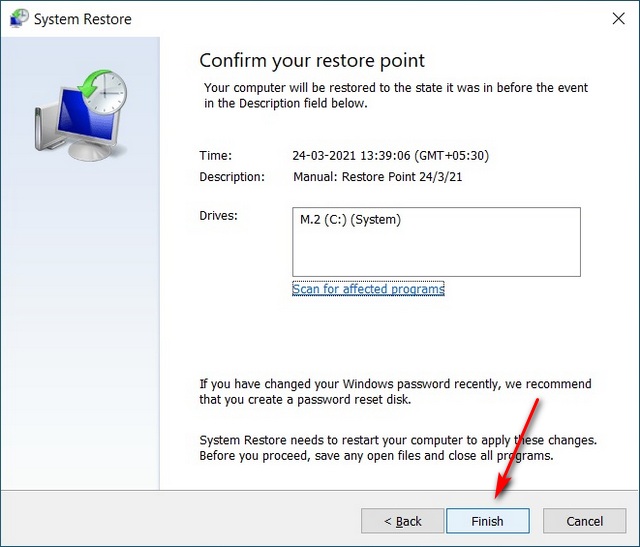
On the final page of the System Restore wizard, confirm all the details and click the ‘Finish’ button. Windows 10 will revert the system to your chosen restore point and restart your computer.
Create System Restore Point on Your Windows 10 PC
System Restore is a critical Windows tool that you should set up right now. It will help prevent a catastrophe in case you apply an incorrect system setting, install a buggy driver, or a faulty system update, which is an all-too-familiar occurrence on Windows. So go ahead, create a system restore point and enable the restore feature on Windows 10 to rescue your PC should something go wrong in the future. If you enjoyed this article, check out our detailed guide on how to speed up Windows 10, where we have shared tips that will breathe a new life into your aging laptop. As a Windows 10 user, also check out some of our other guides for your PC, including how to enable fast startup in Windows 10, how to restore missing features in Windows 10, and how to improve battery life of your Windows 10 laptop. Finally, check out how you can control your Android TV using your Windows 10 computer and how to control your Windows 10 PC with your iPhone or Android device.