Turn On HDMI-CEC on Your TV (2021)
You can find a short guide to enable HDMI-CEC for almost all the major TV brands below. We have also mentioned steps for Android TV Boxes, Mi Box, Fire TV Stick, and more. To quickly find a guide for your TV, you can click on the link below and move to the relevant section.
Enable HDMI-CEC on Samsung TV (Anynet+)
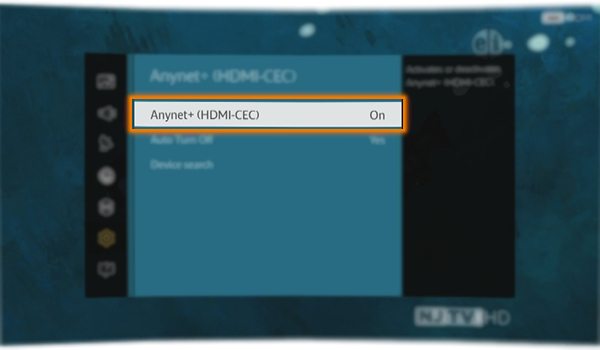
On Samsung TV, HDMI-CEC is called Anynet+ and can be enabled from the Settings page. First of all, press the Home button on the TV remote and open Settings, and move to General. Here, open External Device Manager and look for “Anynet+ (HDMI-CEC)”. Now, open Anynet+ and turn it on. That’s it.
Enable HDMI-CEC on LG TV (Simplink)
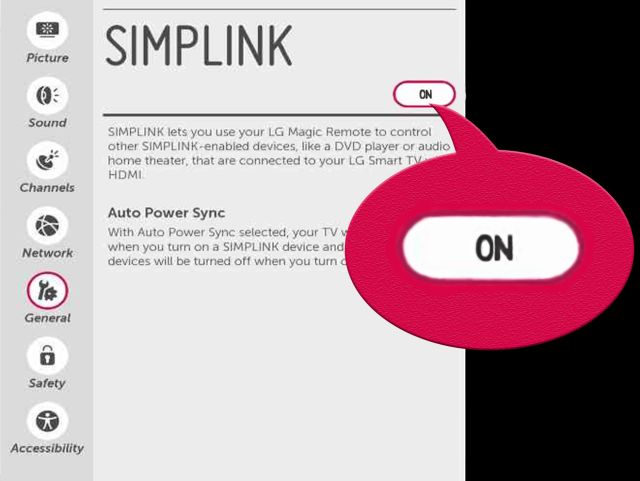
You can enable HDMI-CEC on LG TV just like Samsung TV. However, the feature name has been changed to Simplink on LG TV. Just press the Home button on the TV remote and open the Settings page. Here, navigate to General -> Simplink. Now, tap on “Active the Simplink” to enable HDMI-CEC on LG TV. Next, enable “Auto Power Sync” as well. You are done.
Enable HDMI-CEC on Sony TV (Bravia Sync)
To enable HDMI-CEC on Sony TV running Android TV OS, press the Home button on the TV remote and open External Inputs located at the top-right corner. Here, click on “External Inputs” and move to HDMI Set-up -> Control for HDMI and turn on the toggle. That’s it.
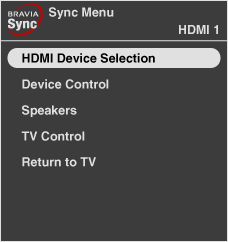
For non-smart Sony TVs, you need to press the Home button on the TV remote and navigate to Settings -> System Settings -> Setup -> Bravia Sync Settings -> HDMI Device Selection -> Turn on.
Enable HDMI-CEC on Android TVs and Mi TV Sticks/Boxes
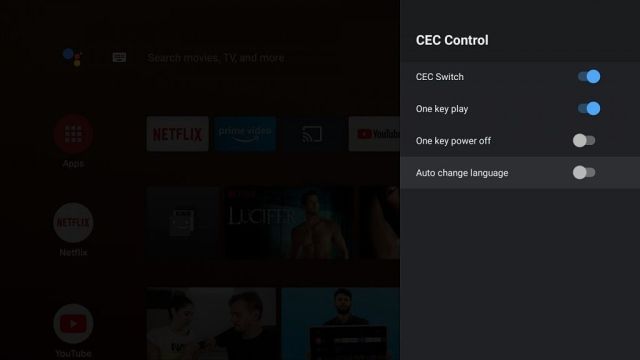
TVs that ship with Android TV generally don’t have support for HDMI-CEC. However, you can look for support by opening “HDMI Input” at the top-right corner. After that, open any HDMI input and move to the Settings page. Here, look for the “CEC” menu and enable it. On Android TV Sticks and Boxes such as the Mi TV Stick and Box, you can open Settings -> Device Preferences -> HDMI CEC -> CEC Control -> Enable the CEC Switch toggle. That’s it.
Enable HDMI-CEC on Fire TV Stick
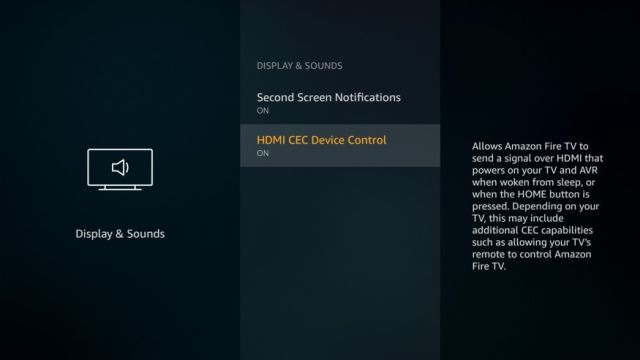
On Fire TV Stick, you can enable HDMI-CEC by following Settings -> Display and Sounds -> HDMI CEC Device Control -> Turn on.
Enable HDMI-CEC on TCL TV
You can enable HDMI-CEC on TCL TV by pressing the Home button on the TV remote. After that, moving to Settings -> System -> Inputs > CEC -> Select Enable. You are done.
Enable HDMI-CEC on Vizio TV
Vizio TV has the easiest way to turn on HDMI-CEC. Just press the Menu button on your TV remote and open “System” and then move to “CEC”. Now change the option to “Enable”.
Enable HDMI-CEC on Philips TV (EasyLink)
First of all, to enable HDMI-CEC on Philips TV, press the Home button on your remote and open “Setup”. Now, open “TV Settings” and move to Installation -> Preferences -> EasyLink. Here, turn on the toggle for all three options: “Master EasyLink”, “Auto TV” and “RC Key Forwarding”.
Enable HDMI-CEC on Panasonic TV (Viera Link)
Just press the Menu button on your TV remote and open “Setup”. Next, navigate to “HDMI Control” and then open “CEC”. Finally, turn on the toggle. There you have it!
Enable HDMI-CEC on Sharp TV (Aquos Link)
Just like Philips and Panasonic TV, you can easily enable HDMI-CEC on Sharp TV in just two steps. Press the Menu button on your TV remote ad open “System Options”. After that, open “Aquos Link Setup” and then turn on “Aquos Link Control”. That’s all.
Enable HDMI-CEC on Roku TV
Another fairly simple process for Roku TV. Just press the Home button and open Settings -> System -> Control other devices (CEC). After that, highlight “System audio control” and enable the checkbox. Similarly, highlight “1-touch play” and enable it as well.
Enable HDMI-CEC on Toshiba TV (Regza Link)
On Toshiba TVs, press the “Menu” button and open “Options”. After that, move to HDMI CEC Control Setup and turn on HDMI CEC Control. Next, turn on all three options: “TV Auto Power”, “Auto Standby” and “Amplifier Control”.
Use HDMI-CEC on Any TV (Both Smart and Non-smart TVs)
In the above segment, we have tried to mention dedicated guides for a range of TVs that support the HDMI-CEC feature. However, if your particular TV manufacturer is not mentioned above then you can follow these simple pointers to enable the much-sought feature. Make sure, you are on the homepage of your TV and open either the Settings page or press the “Menu” button. After that, look for “HDMI”, “CEC”, “HDMI-CEC” or “Link” terms. Chances are these settings pages will lead you to the HDMI-CEC feature on your TV. In case, you are unable to find the settings page then take a look at the list below and find the trade name of HDMI-CEC for your TV set. And then look for that trade name under the Settings page. You are likely to find the option this time. Now, go ahead and enable it.
Vizio: CEC Sony: BRAVIA Link, BRAVIA Sync, Control for HDMI LG: SimpLink Samsung: Anynet+ Panasonic: VIERA Link, HDAVI Control, EZ-Sync Roku: 1-Touch Play Sharp: Aquos Link Toshiba: CE-Link, Regza Link AOC: E-link Philips: EasyLink Emerson: Fun-Link Hitachi: HDMI-CEC Insignia: INlink Pioneer: Kuro Link Mitsubishi: NetCommand for HDMI, Realink for HDMI Onkyo: RIHD (Remote Interactive over HDMI) Runco: RuncoLink Thomson: T-Link
Use HDMI-CEC on Your TV Right Away
So that is how you can use the HDMI-CEC feature on your TV. As we went through the guide, it’s clear that the feature is available on a large range of TVs and devices, but due to manufacturer-specific trademarks, users are unable to find the proper settings page. In that case, go through the above list to find the CEC-related settings page. Anyway, that is all from us. If you are facing any issues then comment down below and let us know.
